Table of Contents
Key Takeaway: How to Prepare Your Perfect Garden Area thoroughly is crucial for long-term success. By carefully assessing your space, improving soil quality, designing an efficient layout, and setting up proper infrastructure, you’ll create an ideal environment for your plants to thrive. This process requires time and effort, but the rewards of a well-prepared garden are bountiful harvests and years of gardening joy.
Introduction
Gardening is more than just planting seeds and watching them grow. As an avid gardener with over two decades of experience, I can attest that the key to a thriving garden lies in preparation. Whether you’re a novice eager to start your first vegetable patch or an experienced gardener looking to revamp your existing space, properly preparing your garden area is crucial for success.
In this comprehensive guide, we’ll walk through each step of preparing your garden area, from initial assessment to final touches before planting. By following these expert tips and insights, you’ll set the stage for a bountiful and beautiful garden that will bring you joy for years to come.
Assess Your Garden Area
Before you start digging or buying supplies, it’s essential to thoroughly assess your garden area. This evaluation will inform all your subsequent decisions and help you create an environment where your plants can thrive.
Evaluate Sunlight Exposure
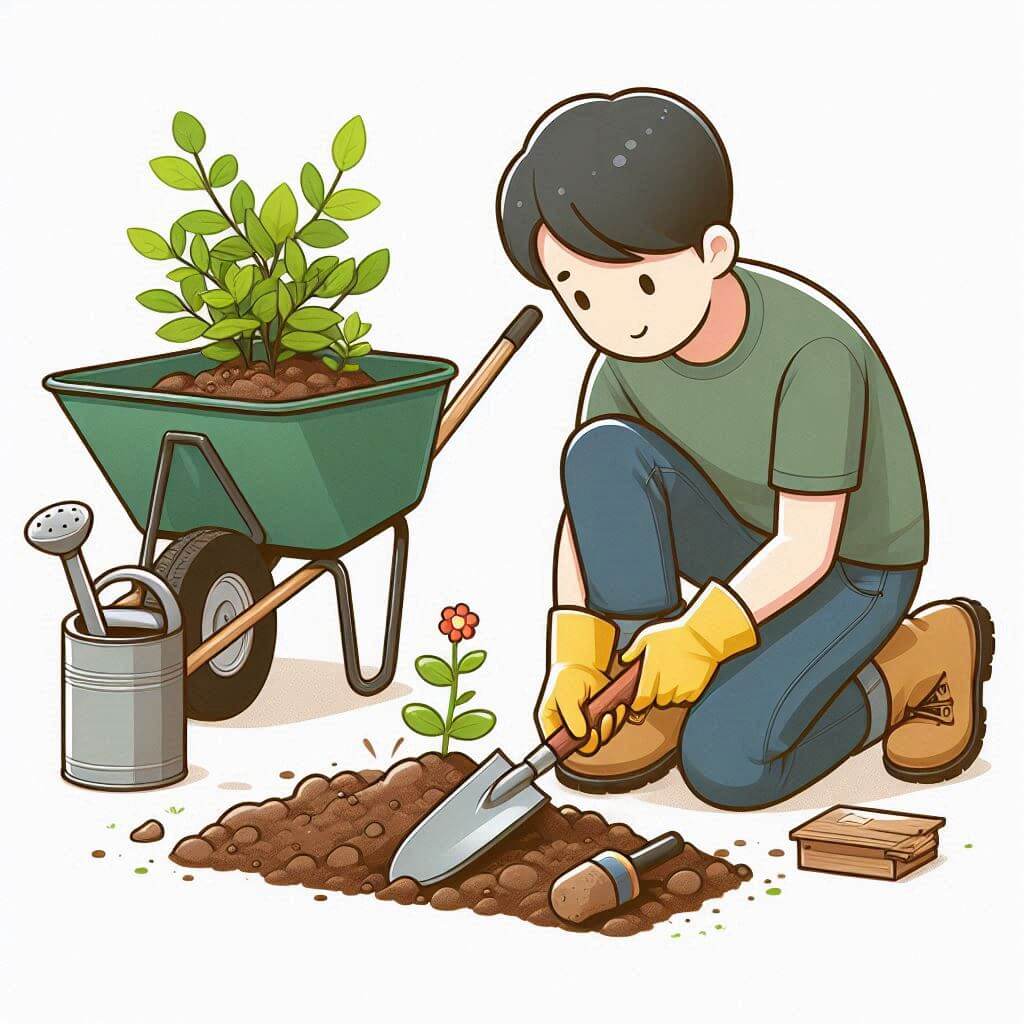
Most vegetables and many flowers require full sun, which means at least 6-8 hours of direct sunlight daily. To assess your garden’s sun exposure:
- Observe your potential garden area throughout the day.
- Note when the area receives direct sunlight and for how long.
- Identify any structures or trees that cast shadows and how these shadows move throughout the day.
If you’re tech-savvy, consider using a sun-tracking app like Sun Surveyor to get a more precise understanding of sun patterns in your garden.
Check Soil Quality and Drainage
Soil quality is paramount for plant health. Start by examining your soil’s texture and drainage:
- Perform a simple soil drainage test by digging a hole about 1 foot deep and filling it with water. If the water doesn’t drain within 24 hours, you may have drainage issues.
- Assess soil texture by squeezing a handful of moist soil:
- If it holds its shape but crumbles when poked, you likely have loamy soil (ideal for most plants).
- If it stays in a tight ball, your soil may be clay-heavy.
- If it falls apart easily, your soil might be too sandy.
Consider Proximity to Water Sources
Convenient access to water is crucial for maintaining your garden. Consider:
- The distance from your water source to the garden area.
- Whether you’ll need to install an irrigation system or rely on hand-watering.
- The potential for rainwater harvesting to supplement your water needs.
Measure and Map Out the Area
Accurately measuring and mapping your garden area will help you plan more effectively:
- Use a long measuring tape to determine the dimensions of your garden space.
- Create a rough sketch or use a garden planning app like Garden Planner to visualize your space.
- Note any existing features like trees, structures, or utility lines that might affect your garden design.
Clear and Clean the Area
Once you’ve assessed your space, it’s time to prepare the ground for your new garden. This step is crucial for giving your plants the best start possible.
Remove Existing Vegetation
- For small areas, use a garden spade or fork to dig out grass and weeds, ensuring you remove the roots.
- For larger areas, consider renting a sod cutter to remove grass efficiently.
- For persistent weeds, you might need to use sheet mulching or solarization techniques.
Clear Debris and Unwanted Objects
- Remove rocks, sticks, and other debris that could impede plant growth or make cultivation difficult.
- Check for any buried objects like old pipes or wires that might cause problems later.
Level the Ground
- Use a rake to roughly level the area, removing any major bumps or filling in low spots.
- For a more precise job, use a long, straight board and a level to check for and correct any significant slopes.
Remember, while a perfectly flat garden might look neat, a slight slope (about 2%) away from any structures can help with drainage.
Improve Soil Quality
Healthy soil is the foundation of a successful garden. By understanding and improving your soil, you’re setting the stage for vigorous plant growth and bountiful harvests.
Conduct a Soil Test
A soil test provides valuable information about your soil’s pH and nutrient levels. Here’s how to proceed:
- Collect soil samples from various parts of your garden area, about 6-8 inches deep.
- Mix these samples thoroughly in a clean bucket.
- Send a portion of this mixed sample to a professional soil testing laboratory. Many cooperative extension services offer affordable soil testing.
Interpret Soil Test Results
Your soil test results will typically include:
- Soil pH level
- Levels of major nutrients (nitrogen, phosphorus, potassium)
- Levels of secondary nutrients and micronutrients
- Organic matter content
- Recommendations for amendments
Amend Soil Based on Test Results and Planned Plants
Based on your soil test results and the types of plants you plan to grow, you may need to amend your soil:
- Adding Organic Matter: Regardless of your soil type, adding organic matter like compost or well-rotted manure will improve soil structure, water retention, and nutrient availability. Aim to incorporate 2-3 inches of compost into the top 6-8 inches of soil.
- Adjusting pH Levels: Most plants prefer a slightly acidic to neutral pH (6.0-7.0).
- To raise pH (make soil less acidic), add lime according to soil test recommendations.
- To lower pH (make soil more acidic), add sulfur or organic materials like pine needles or peat moss.
- Incorporating Nutrients: Based on your soil test results and the needs of your planned plants, you may need to add specific nutrients:
- Nitrogen (N): Add composted manure or blood meal for leafy growth.
- Phosphorus (P): Incorporate bone meal or rock phosphate for root development and flowering.
- Potassium (K): Use wood ash or greensand for overall plant health and disease resistance.
Remember, it’s better to amend soil gradually over time rather than trying to correct everything at once. Dramatic changes can shock plants and disrupt soil microbial life.
Design Your Garden Layout
A well-designed garden layout can maximize your space, make maintenance easier, and create a more enjoyable gardening experience. Here’s how to approach your garden design:
Consider Plant Needs and Growth Patterns
- Research the mature sizes of the plants you want to grow.
- Group plants with similar sunlight, water, and soil needs together.
- Plan to place taller plants on the north side of your garden to avoid shading shorter plants.
- Consider companion planting strategies to maximize space and deter pests. The Old Farmer’s Almanac offers a comprehensive companion planting guide.
Plan for Pathways and Access Points
- Design paths that allow easy access to all parts of your garden.
- Make main pathways at least 3 feet wide to accommodate wheelbarrows or garden carts.
- Consider using permeable materials like gravel or wood chips for pathways to improve drainage.
Account for Irrigation Systems
- If using a drip irrigation system, plan your layout to minimize the length of tubing needed.
- For sprinkler systems, ensure all areas of the garden are within range.
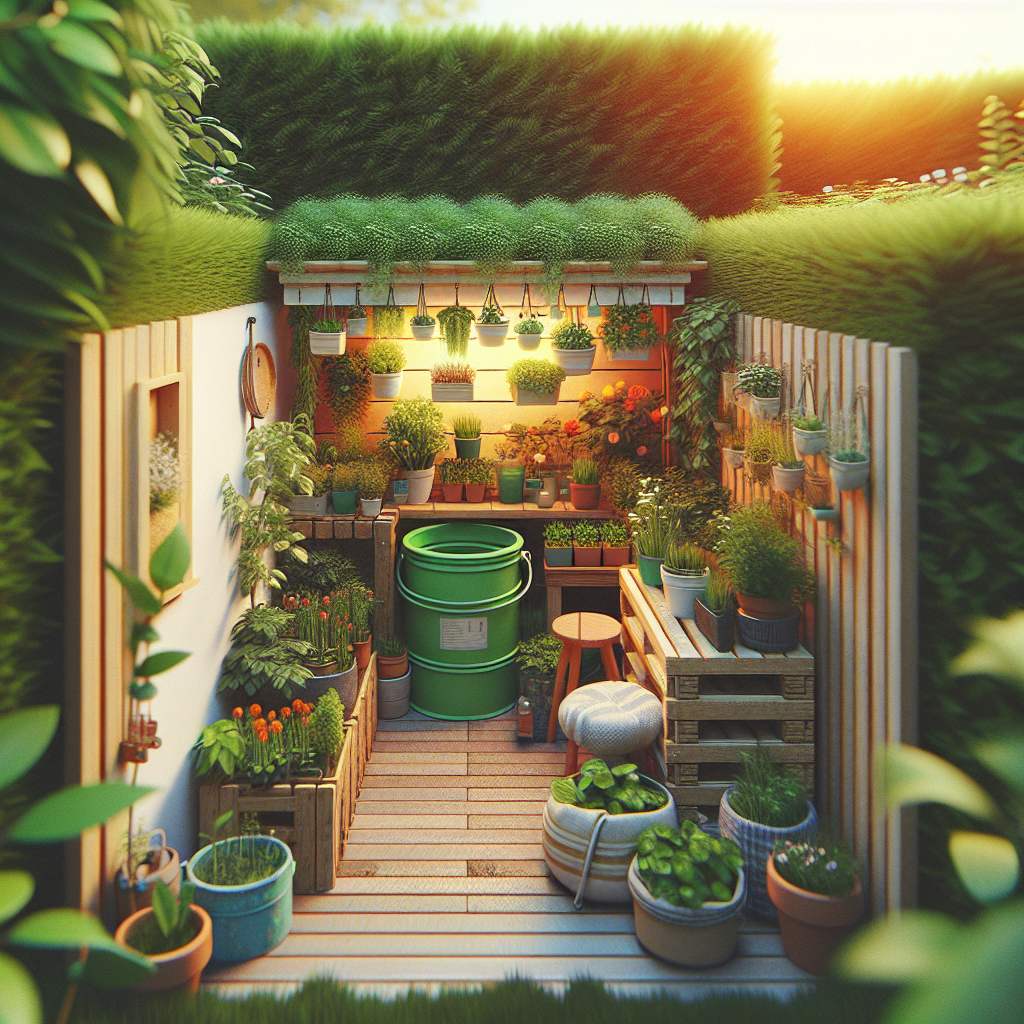
- Consider installing a rain barrel to collect rainwater for irrigation.
Create Zones for Different Plant Types
- Designate areas for perennials, annuals, and vegetables.
- Consider creating a separate herb garden near your kitchen for easy access.
- If you’re interested in permaculture, research zone planning to optimize your layout based on plant needs and human interaction.
Prepare Garden Beds
With your layout planned, it’s time to prepare your garden beds. The method you choose will depend on your soil quality, drainage, and personal preferences.
Decide Between Raised Beds or In-Ground Planting
Raised beds offer several advantages:
- Better drainage
- Warmer soil earlier in the season
- Easier access for those with mobility issues
- Protection from soil-borne pests
However, in-ground planting can be more cost-effective and may be preferable in areas with good soil quality.
Build Raised Beds (if chosen)
If you opt for raised beds:
- Choose a material for your beds (untreated wood, stone, or composite materials are popular choices).
- Build beds no wider than 4 feet to ensure you can reach the center without stepping in the bed.
- Make beds at least 6 inches deep, though 12 inches is ideal for most plants.
- Fill beds with a mixture of topsoil, compost, and other amendments based on your soil test results.
For detailed instructions on building raised beds, check out this guide from Fine Gardening.
Double Digging Technique for In-Ground Beds
If you’re preparing in-ground beds, consider the double digging technique for optimal soil preparation:
- Mark out your bed area.
- Dig a trench about a spade’s depth along one end of the bed, setting the soil aside.
- Loosen the soil at the bottom of the trench with a fork.
- Move to the next strip, digging out the soil and using it to fill the first trench.
- Continue this process across the bed.
- Use the soil from the first trench to fill the last one.
This method improves drainage and aeration while allowing you to incorporate amendments deeply into the soil.
Add Final Layer of Prepared Soil or Compost
Whether you’re using raised beds or in-ground planting, finish by adding a 2-3 inch layer of compost or well-aged manure to the surface. This will provide a nutrient-rich environment for your plants’ initial growth.
Install Garden Infrastructure
With your beds prepared, it’s time to set up the systems and structures that will support your garden throughout the growing season.
Set Up Irrigation Systems
An efficient irrigation system can save time and ensure your plants receive consistent water. Options include:
- Drip Irrigation: Ideal for water conservation, this system delivers water directly to plant roots.
- Lay out main lines along your garden rows.
- Attach emitters or soaker hoses to deliver water to individual plants.
- Connect the system to a timer for automated watering.
- Sprinkler Systems: Better for larger areas but less water-efficient.
- Choose sprinkler heads that provide even coverage without overspray.
- Install on risers or stakes to ensure proper height.
- Hand Watering: For small gardens or container plants.
- Install conveniently located water spigots.
- Consider using a watering wand for better reach and control.
For more information on choosing and installing irrigation systems, visit the EPA’s WaterSense page.
Build Trellises or Supports for Climbing Plants
Many vegetables and flowers benefit from vertical support:
- Install sturdy posts at the ends of rows for plants like peas, pole beans, and cucumbers.
- String strong wire or twine between posts for plants to climb.
- For heavier crops like tomatoes, use individual cages or stakes.
- Consider decorative options like arches or obelisks for flowering vines.
Install Fencing if Necessary (for Pest Control)
If local wildlife is a concern, consider installing protective fencing:
- For small animals like rabbits, use chicken wire buried at least 6 inches deep and extending 2-3 feet high.
- For deer, you’ll need taller fencing, typically 7-8 feet high.
- Consider electric fencing options for persistent pests.
Remember to check local regulations regarding fence height and placement before installation.
Final Steps Before Planting
You’re almost ready to plant! These final steps will ensure your garden is in prime condition for your new plants.
Let Prepared Soil Settle
After all your hard work preparing the soil:
- Allow the soil to settle for a few days to a week.
- If you’ve added significant amendments, consider waiting 2-3 weeks before planting to allow nutrients to integrate.
- Water the prepared area lightly to help settlement and prevent wind erosion.
Plan Your Planting Schedule
Now is the time to finalize your planting plan:
- Research the best planting times for your chosen plants in your specific climate zone. The USDA Plant Hardiness Zone Map is a valuable resource.
- Create a planting calendar, noting when each type of plant should be sown or transplanted.
- Consider succession planting for continuous harvests of certain crops.
Gather Necessary Tools and Materials for Planting
Ensure you have all the tools you’ll need:
- Garden gloves
- Trowel and garden fork
- Watering can or hose with adjustable nozzle
- Plant labels and permanent marker
- Organic fertilizers or compost for transplanting
- Mulch materials (e.g., straw, wood chips, or leaf mold)
Having these items on hand will make the planting process smoother and more enjoyable.
Conclusion
Preparing your garden area is a labor of love that pays dividends in the health and productivity of your plants. By taking the time to assess your space, improve your soil, design an efficient layout, and set up proper infrastructure, you’re setting the stage for years of gardening success.
Remember, gardening is an ongoing process of learning and adapting. Each season will bring new insights and opportunities to refine your methods. Embrace the journey, and don’t be afraid to experiment and learn from both your successes and challenges.
As you move forward with your garden preparation, keep these key points in mind:
- Understand your space: sunlight, soil, and water access are crucial factors.
- Invest time in soil improvement; it’s the foundation of a healthy garden.
- Design with both aesthetics and functionality in mind.
- Set up infrastructure like irrigation and supports before planting.
- Be patient and allow your prepared area to settle before planting.
With your garden area now prepared, you’re ready to embark on the exciting journey of planting and nurturing your garden. May your efforts be rewarded with bountiful harvests and the simple joys that come from connecting with nature through gardening.
Call-to-Action
We’d love to hear about your garden preparation experiences! Share your stories, tips, or questions in the comments below. And don’t forget to subscribe to our newsletter for more gardening tips, seasonal guides, and expert advice to help you make the most of your garden all year round.
How long does it typically take to prepare a garden area?
The time required can vary greatly depending on the size of your area and its initial condition. For a small to medium-sized garden, expect to spend several weekends on preparation. Larger areas or those requiring significant improvement may take several weeks to months.
Can I prepare my garden area in stages?

Absolutely! In fact, preparing your garden in stages can be less overwhelming and allow you to spread out the cost and effort. Start with clearing and soil improvement, then move on to bed preparation and infrastructure installation as time and resources allow.
Is it necessary to remove all grass and weeds before starting a garden?
While it’s ideal to remove as much competing vegetation as possible, there are alternatives. Sheet mulching or lasagna gardening techniques allow you to start a garden without removing existing grass. However, persistent perennial weeds should always be thoroughly removed.
How often should I test my soil?
For most home gardens, testing your soil every 3-5 years is sufficient. However, if you’re experiencing persistent plant health issues or making significant changes to your garden, more frequent testing may be beneficial.
What’s the best time of year to prepare a new garden area?
Fall is often considered the ideal time to prepare a new garden area. The soil is usually drier and easier to work, and winter frosts can help break down heavy soils. However, you can prepare your garden in spring if necessary. Avoid working wet soil as this can damage its structure.
How deep should I dig when preparing my garden soil?
For most plants, preparing the top 8-12 inches of soil is sufficient. However, if you’re planting trees or deep-rooted vegetables, you may want to work the soil to a depth of 18-24 inches. The double-digging method is excellent for deep soil preparation.
Can I use kitchen scraps as compost in my new garden?
While kitchen scraps can eventually become great compost, they need to be properly decomposed first. Fresh kitchen scraps can attract pests and may introduce pathogens to your soil. It’s best to compost kitchen scraps in a separate bin before adding them to your garden soil.
How do I prepare a garden area in a small urban space or balcony?
For small spaces:
1. Use containers or raised beds to maximize growing area.
2. Consider vertical gardening techniques like trellises or hanging planters.
3. Focus on soil quality – use high-quality potting mix for containers.
4. Plan your space carefully to ensure all plants get adequate light.
5. Install a drip irrigation system or self-watering containers for easier maintenance.
